Stamped Concrete Driveway Installation | How To
How to Install a Stamped Concrete Driveway
Introduction
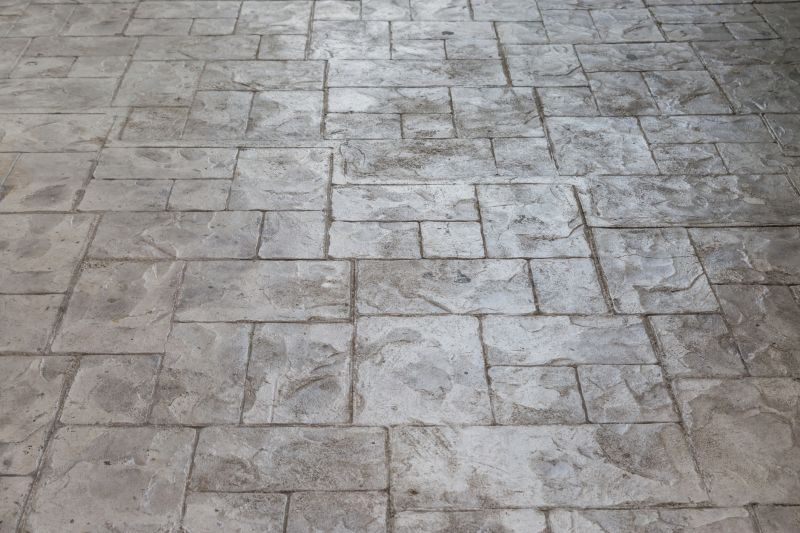
Stamped concrete driveways are a popular choice for homeowners who want to enhance the curb appeal of their property. This article will guide you through the steps involved in installing a stamped concrete driveway.
Materials and Tools Needed
- Concrete mix
- Stamping mats
- Release agent
- Concrete sealer
- Trowels
- Floats
- Power washer
- Concrete mixer
- Wheelbarrow
- Measuring tape
- Level
- Protective gear (gloves, goggles, etc.)
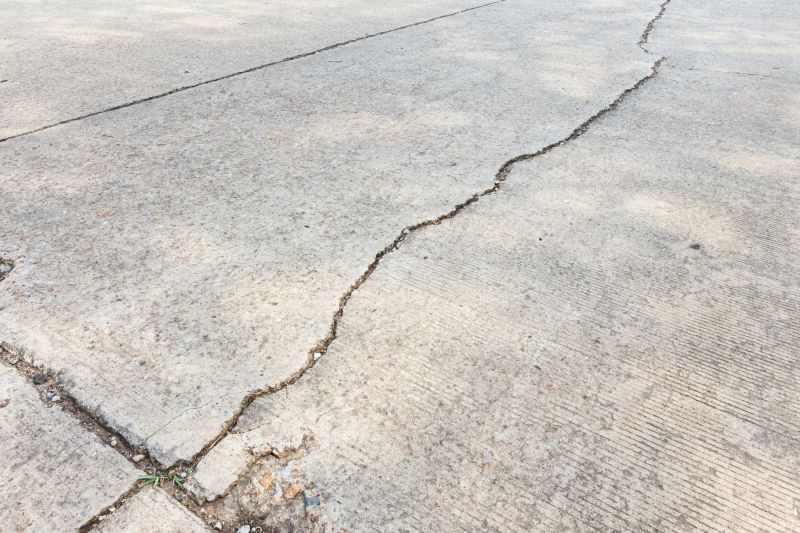
Step 1: Prepare the Site
Start by measuring and marking the area where you want to install the driveway. Remove any existing vegetation or debris from the site. Use a power washer to clean the area thoroughly.
Step 2: Mix the Concrete
Follow the instructions on the concrete mix packaging to prepare the right amount of concrete. Use a concrete mixer or a wheelbarrow to mix the concrete until it reaches a smooth consistency.
Step 3: Pour and Level the Concrete
Pour the mixed concrete onto the prepared site. Use a trowel and floats to spread and level the concrete evenly. Make sure the surface is smooth and flat.
Step 4: Apply the Release Agent
Apply a release agent onto the surface of the concrete. This will prevent the stamping mats from sticking to the concrete and create the desired pattern.
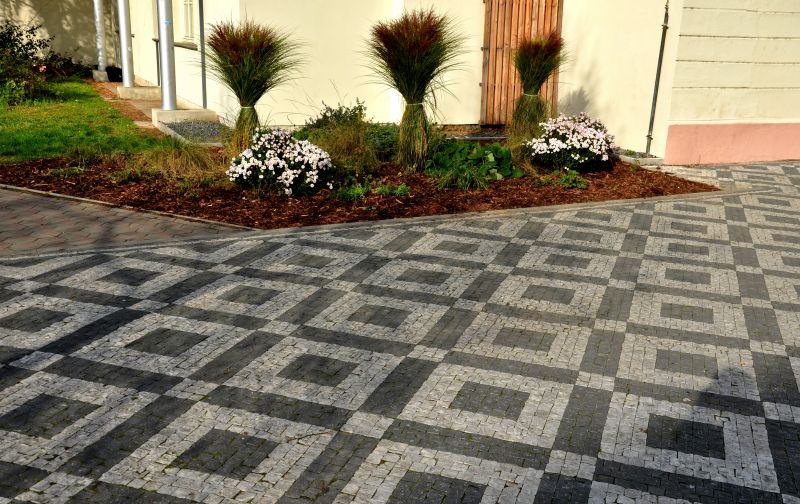
Step 5: Stamp the Concrete
Place the stamping mats onto the concrete, starting from one corner and working your way across. Press the mats firmly into the concrete to create the desired pattern. Continue this process until the entire surface is stamped.
Step 6: Clean and Seal
Allow the stamped concrete to dry for the recommended time. Once dry, clean the surface with a power washer to remove any excess release agent or debris. Apply a concrete sealer to protect the surface and enhance its appearance.
Step 7: Curing and Maintenance
Allow the concrete to cure for at least 24 hours before using the driveway. During this time, keep the surface moist by lightly spraying it with water. Regularly maintain the driveway by cleaning it and reapplying a concrete sealer every few years.
Conclusion
By following these steps, you can successfully install a stamped concrete driveway and enjoy its durability and aesthetic appeal for years to come.