Concrete Driveway Repair | How To
Concrete Driveway Repair: A Step-by-Step Guide
Introduction
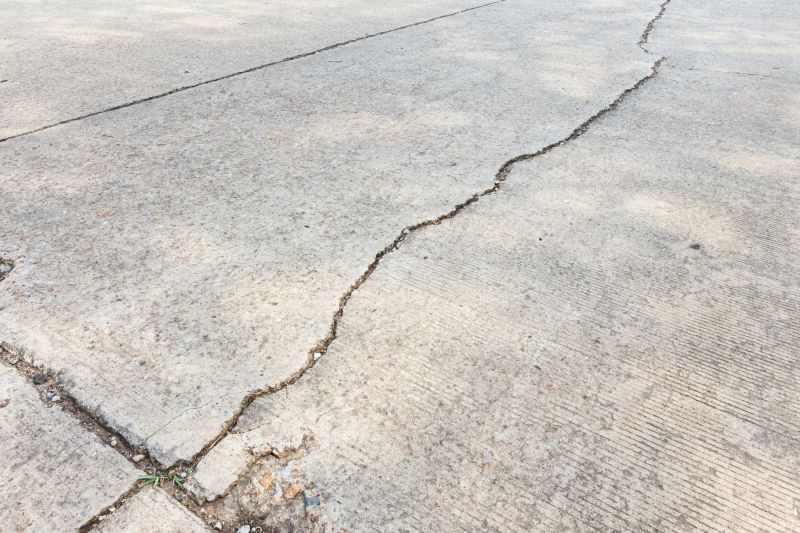
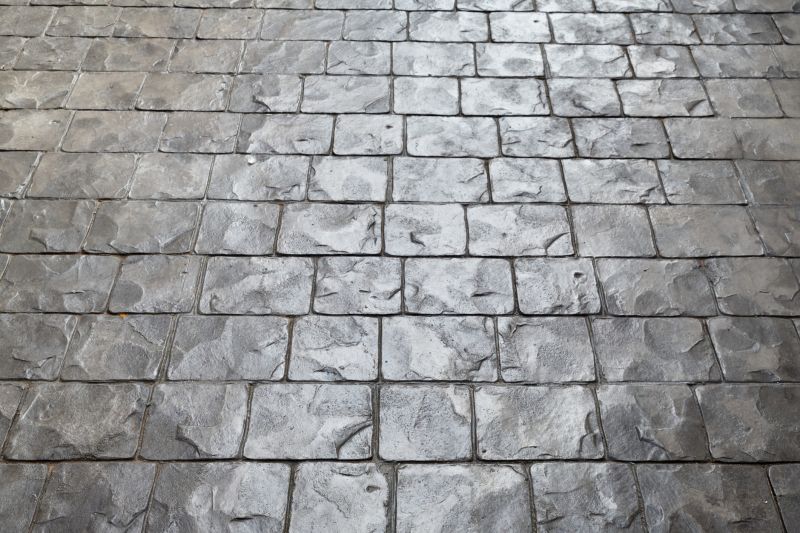
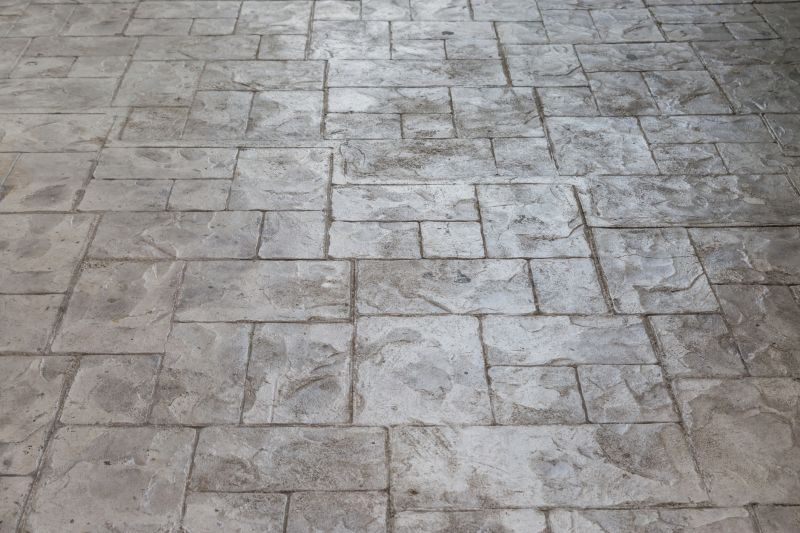
Concrete driveways can develop cracks, potholes, and other damages over time. Repairing these issues promptly can help prolong the lifespan of your driveway and enhance its appearance. In this guide, we will walk you through the steps to effectively repair your concrete driveway.
Materials Needed
- Protective gloves
- Safety goggles
- Wire brush
- Chisel
- Hammer
- Concrete patching compound
- Concrete resurfacer
- Trowel
- Concrete sealer
- Broom
- Hose
Step 1: Assess the Damage
Inspect your driveway to identify cracks, potholes, or areas that need repair. Note the size and severity of each issue.
Step 2: Clean the Surface
Use a wire brush to remove any loose debris, dirt, or vegetation from the damaged areas. For deeper cleaning, use a chisel and hammer to chip away loose or crumbling concrete.
Step 3: Prepare the Concrete Patching Compound
Follow the instructions provided with the concrete patching compound to mix it properly. Ensure that you have the right consistency for effective application.
Step 4: Apply the Patching Compound
Use a trowel to fill the cracks and potholes with the concrete patching compound. Smooth the surface evenly and allow it to dry according to the product's instructions.
Step 5: Resurface the Driveway
If your driveway has widespread damage or surface imperfections, consider using a concrete resurfacer. Mix and apply the resurfacer as per the manufacturer's guidelines. Use a trowel to spread it evenly over the entire driveway surface.
Step 6: Seal the Driveway
Once the repairs have dried and cured, apply a concrete sealer to protect the surface from future damage. Follow the sealer manufacturer's instructions for proper application.
Step 7: Clean Up
Remove any excess debris or concrete residue from the repaired areas and surrounding surfaces using a broom and hose.
Conclusion
By following these steps, you can successfully repair your concrete driveway and restore its functionality and aesthetics. Remember to prioritize regular maintenance to prevent future damage and extend the lifespan of your driveway.