Stained Concrete Driveway Installation | How To
How to Install a Stained Concrete Driveway
Materials Needed:
- Concrete mix
- Water
- Stain
- Concrete sealer
- Concrete trowel
- Pressure washer
- Protective gear (gloves, goggles, mask)
- Concrete mixer (optional)
Step 1: Prepare the Driveway
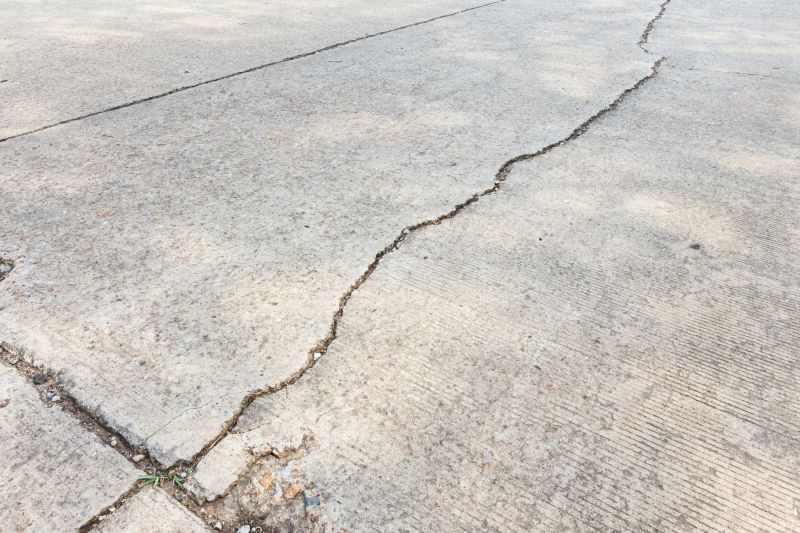
Before starting the installation process, make sure the driveway is clean and free from any debris. Use a pressure washer to remove dirt, oil stains, and any loose materials. Allow the driveway to dry completely before proceeding.
Step 2: Mix the Concrete
If you're using a concrete mixer, follow the manufacturer's instructions to mix the concrete. Otherwise, mix the concrete manually in a large container by combining the concrete mix with water. Stir the mixture until it reaches a smooth consistency.
Step 3: Pour and Spread the Concrete
Start pouring the concrete onto the driveway in small sections. Use a concrete trowel to spread the concrete evenly, making sure it fills all the gaps and reaches the desired thickness. Work quickly to prevent the concrete from drying before finishing.
Step 4: Stain the Concrete
Once the concrete is poured and spread, wait for it to partially dry. Then, apply the concrete stain according to the manufacturer's instructions. Use a brush or sprayer to evenly distribute the stain over the surface. Allow the stain to dry completely before proceeding.
Step 5: Apply Concrete Sealer
Once the stain is dry, apply a concrete sealer to protect the surface and enhance its appearance. Follow the instructions on the sealer product for the application method. Apply multiple coats if necessary, allowing each coat to dry before applying the next.
Step 6: Finishing Touches
After the sealer has dried, inspect the driveway for any imperfections or areas that need touch-ups. Use the concrete trowel to fix any uneven spots or fill in small cracks. Allow the driveway to cure for the recommended time before using it.
Step 7: Maintenance
To keep your stained concrete driveway looking its best, regularly clean it with a mild detergent and water. Avoid using harsh chemicals or abrasive cleaners that could damage the stain or sealer. Additionally, consider reapplying a concrete sealer every few years to maintain its durability and appearance.
Following these steps will help you successfully install a stained concrete driveway. Enjoy the enhanced curb appeal and longevity of your newly installed driveway!