Concrete Driveway Border Installation | How To
How to Install a Concrete Driveway Border
Materials Needed:
- Concrete mix
- Shovel
- Tape measure
- String
- Wooden stakes
- Mason's line
- Level
- Trowel
- Edging tool
- Rubber mallet
- Protective gloves
- Safety glasses
Step-by-Step Instructions:
1. Plan and Measure
Start by planning the layout of your concrete driveway border. Measure the length and width of your driveway to determine the total linear footage required for the border.
2. Mark the Border
Use wooden stakes and string to mark the outline of the border. Ensure that the string is tight and level.
3. Excavate the Area
Using a shovel, dig a trench along the marked border. The trench should be approximately 6 inches deep and wide enough to accommodate the width of the border.
4. Prepare the Concrete Mix
Follow the instructions on the concrete mix packaging to prepare the appropriate amount of concrete. Mix it thoroughly in a wheelbarrow or mixing tray.
5. Pour the Concrete
Carefully pour the concrete into the trench, ensuring that it fills the entire space evenly.
6. Smooth the Surface
Use a trowel to smooth the surface of the concrete, ensuring it is level and free of any bumps or imperfections.
7. Create a Border Edge
Using an edging tool, create a clean edge along the border of the concrete. This will give it a finished look.
8. Add a Decorative Touch
If desired, use a rubber mallet to gently tap decorative stones or bricks into the concrete border for added visual appeal.
9. Allow the Concrete to Cure
Follow the concrete mix instructions for curing time. Typically, it takes around 24-48 hours for the concrete to fully cure.
10. Clean Up
Dispose of any excess concrete properly and clean your tools thoroughly.
11. Maintain the Border
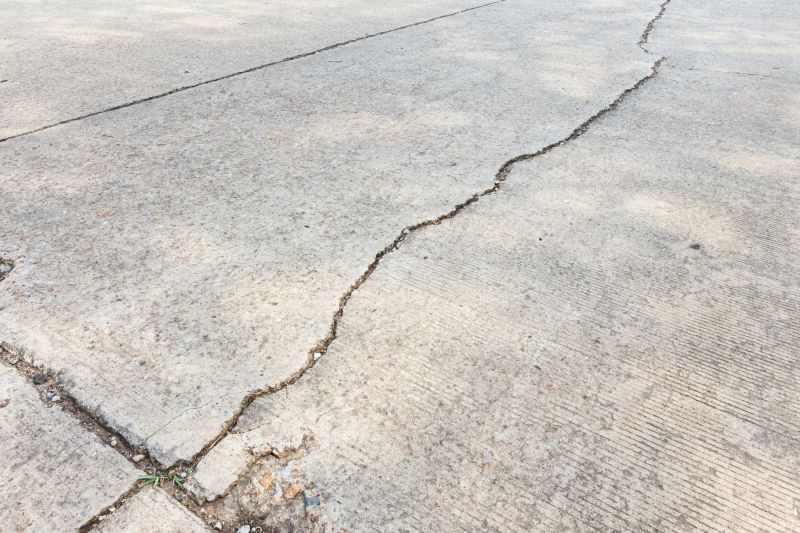
Regularly inspect and maintain the concrete driveway border to ensure its longevity. Clean any dirt or debris and repair any cracks or damages as needed.
By following these steps, you can successfully install a concrete driveway border that enhances the look and functionality of your driveway.