Concrete Driveway Replacement | How To
How to Do Concrete Driveway Replacement
Introduction
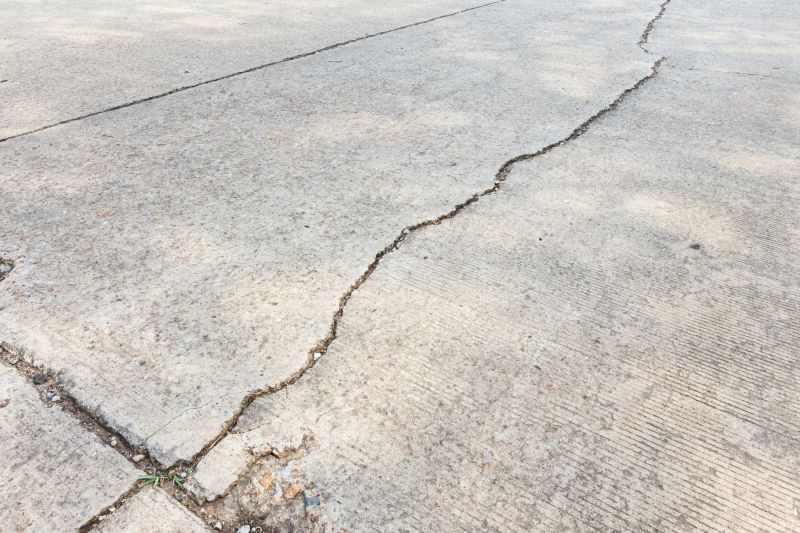
A concrete driveway replacement can greatly enhance the curb appeal of your property while ensuring a durable and long-lasting surface. In this step-by-step guide, we will walk you through the process of replacing your old driveway with new concrete.
Materials Needed
- Concrete mix
- Gravel
- Rebar or wire mesh
- Wooden forms
- Trowel
- Float
- Concrete sealer
- Safety goggles
- Gloves
- Protective clothing
Step 1: Preparation
Before starting the replacement process, remove any existing driveway materials and excavate the area to the desired depth. Make sure the ground is level and compacted.
Step 2: Installing Forms
Place wooden forms along the edges of the driveway to create a boundary for the concrete. Ensure that the forms are securely in place and level.
Step 3: Adding Gravel Base
Spread a layer of gravel evenly over the excavated area. Compact the gravel to create a solid base for the concrete.
Step 4: Reinforcement
Install rebar or wire mesh within the forms to reinforce the concrete and prevent cracking. Make sure the reinforcement is evenly distributed.
Step 5: Mixing and Pouring Concrete
Follow the instructions on the concrete mix packaging to prepare the mixture. Pour the concrete into the forms, ensuring it is evenly spread and at the desired thickness.
Step 6: Smoothing and Finishing
Use a trowel and float to smooth the surface of the concrete. Pay attention to any slopes or drainage requirements. Allow the concrete to cure for the recommended time.
Step 7: Sealing
Apply a concrete sealer to protect the surface from stains, weathering, and damage. Follow the manufacturer's instructions for application and drying time.
Conclusion
By following these steps, you can successfully replace your concrete driveway, enhancing the functionality and appearance of your property. Remember to take proper safety precautions throughout the process.