Concrete Driveway Apron Repair | How To
How to Do Concrete Driveway Apron Repair
Introduction
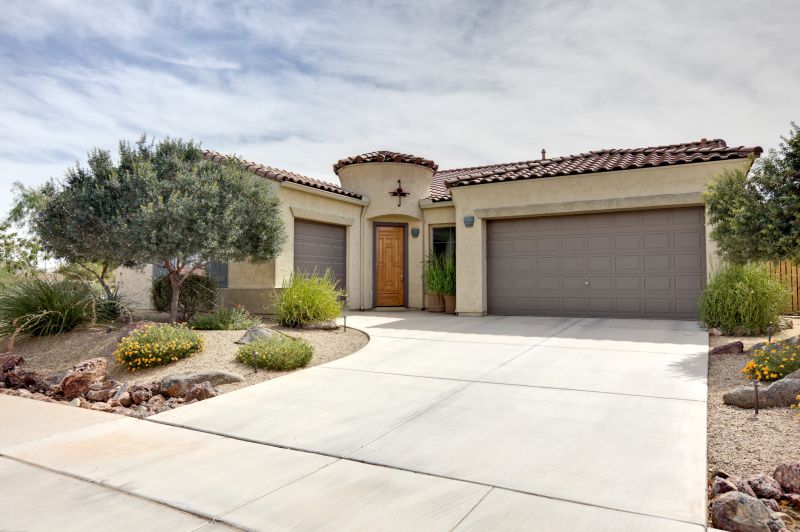
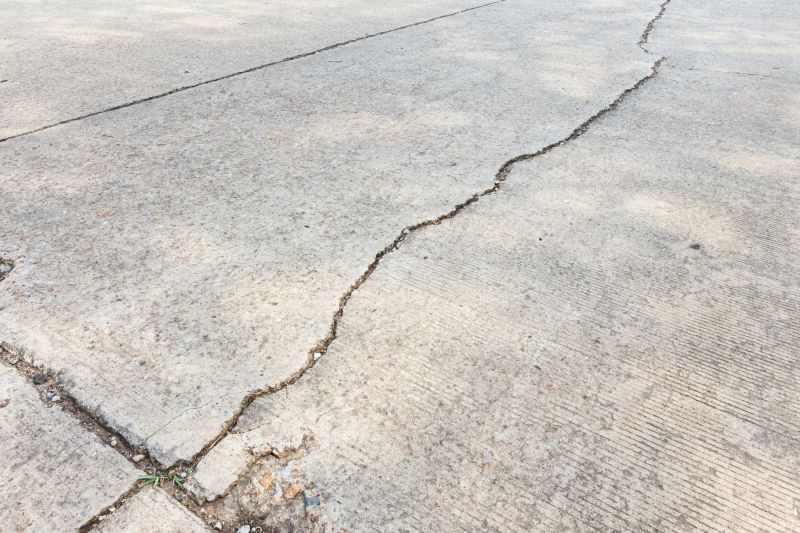
Concrete driveway aprons are prone to cracking and deteriorating over time due to heavy vehicle traffic and exposure to the elements. In this step-by-step guide, we will walk you through the process of repairing your concrete driveway apron to restore its functionality and appearance.
Materials and Tools You Will Need:
- Concrete mix
- Water
- Bucket or wheelbarrow
- Trowel
- Chisel
- Hammer
- Wire brush
- Protective gloves
- Protective eyewear
- Safety mask
- Concrete sealer (optional)
Step 1: Prepare the Area
Start by clearing the driveway apron of any debris or loose concrete using a wire brush. Sweep the area clean to ensure a smooth surface for the repair.
Step 2: Remove Damaged Concrete
Using a chisel and hammer, carefully chip away any loose or damaged concrete from the apron. Be sure to wear protective gloves, eyewear, and a safety mask during this step.
Step 3: Mix the Concrete
Follow the instructions on the concrete mix packaging to prepare the concrete mixture. Mix it in a bucket or wheelbarrow, adding water gradually until you achieve a workable consistency.
Step 4: Apply the Concrete
Using a trowel, apply the concrete mixture to the prepared area. Smooth it out evenly, making sure it fills the gaps and matches the level of the existing driveway apron.
Step 5: Finishing Touches
Once the concrete is applied, use the trowel to create a smooth finish. You can also add texture to match the existing driveway apron if desired. Allow the concrete to cure according to the instructions on the packaging.
Step 6: Seal the Repair (Optional)
If desired, apply a concrete sealer to protect the repaired area from future damage and enhance its durability. Follow the instructions on the sealer packaging for application.
Conclusion
By following these steps, you can successfully repair your concrete driveway apron and extend its lifespan. Remember to take necessary safety precautions and allow ample curing time for the best results. Enjoy your newly restored driveway apron!