Concrete Driveway Leveling | How To
How to Do Concrete Driveway Leveling
Introduction
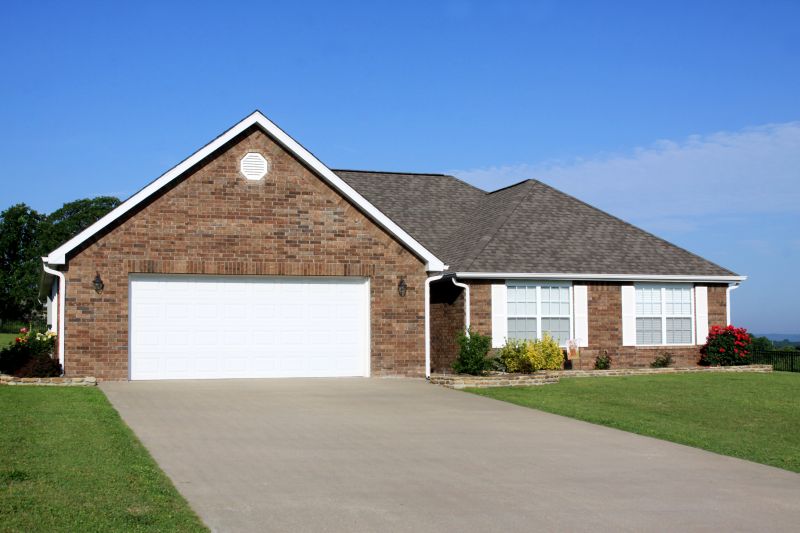
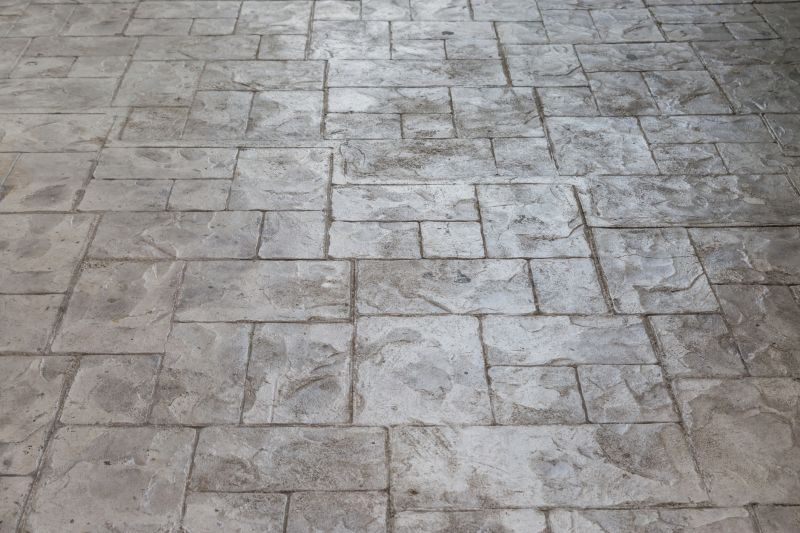
Concrete driveway leveling is an essential maintenance task to ensure a smooth and even surface. This step-by-step guide will walk you through the process of leveling your concrete driveway effectively.
Materials and Tools
- Concrete mix
- Water
- Trowel
- Level
- Float
- Concrete sealer (optional)
Step 1: Assess the Driveway
Inspect your driveway for any cracks, potholes, or uneven areas. Identify the sections that require leveling and mark them for easier reference during the process.
Step 2: Prepare the Surface
Clean the driveway thoroughly by removing any debris, dirt, or loose concrete. Use a pressure washer if necessary. Repair any cracks or potholes before proceeding with the leveling process.
Step 3: Mix the Concrete
Follow the instructions on the concrete mix packaging to prepare the right consistency. Use a bucket or a concrete mixer to mix the concrete and water until you achieve a smooth and workable mixture.
Step 4: Apply the Concrete
Start applying the mixed concrete to the marked areas that require leveling. Use a trowel to spread the concrete evenly, ensuring it fills any depressions or uneven spots. Work in small sections to maintain control and accuracy.
Step 5: Level the Concrete
Once the concrete is applied, use a level to check the surface and make adjustments as needed. Smooth out any bumps or ridges using a float, ensuring a flat and even finish.
Step 6: Allow the Concrete to Cure
Follow the recommended curing time provided by the concrete mix manufacturer. Typically, it takes around 24 to 48 hours for the concrete to fully cure. Keep the area protected and avoid any heavy traffic during this period.
Step 7: Optional - Apply Concrete Sealer
If desired, apply a concrete sealer to protect the surface and enhance its durability. Follow the instructions on the sealer packaging for proper application and drying time.
Conclusion
By following these steps, you can successfully level your concrete driveway and ensure a smooth, even surface. Regular maintenance and prompt repairs will help extend the lifespan of your driveway, providing years of reliable use.