Concrete Driveway Installation | How To
How to Install a Concrete Driveway
Step 1: Prepare the Area
Start by measuring and marking the area where you want to install the concrete driveway. Clear any vegetation, rocks, or debris from the area. Use a shovel to dig out the topsoil to a depth of about 8 inches.
Step 2: Create a Solid Base
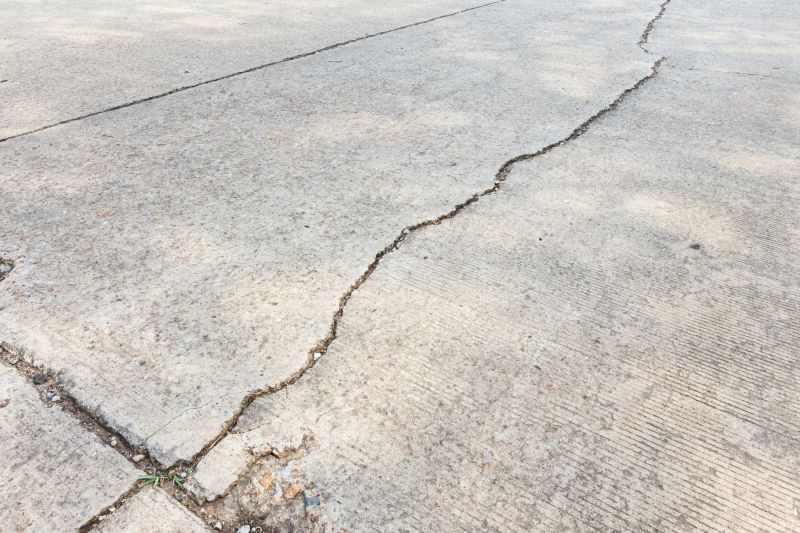
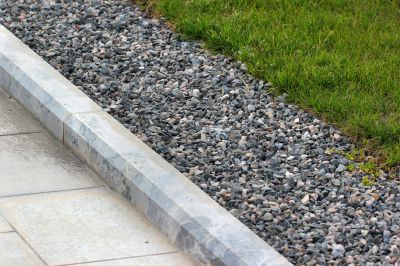
Compact the soil using a plate compactor to ensure a stable base. Add a layer of gravel and compact it as well. This will provide proper drainage and prevent the concrete from cracking.
Step 3: Install the Forms
Place wooden or metal forms along the edges of the driveway area to create a boundary for the concrete. Make sure the forms are level and securely in place. Use stakes to hold them firmly.
Step 4: Reinforce with Rebar
If desired, lay down a grid of rebar over the compacted gravel base. This will add strength to the concrete and prevent cracking. Use wire or rebar chairs to elevate the rebar off the ground.
Step 5: Mix and Pour the Concrete
Follow the instructions on the concrete mix bag to prepare the right consistency. Pour the concrete into the forms, starting from one end and working your way to the other. Use a shovel or rake to spread the concrete evenly.
Step 6: Level and Smooth
Use a screed board to level the concrete by moving it back and forth along the forms. Smooth the surface with a bull float or a trowel. Remove any excess concrete and fill in low spots as needed.
Step 7: Add Finishing Touches
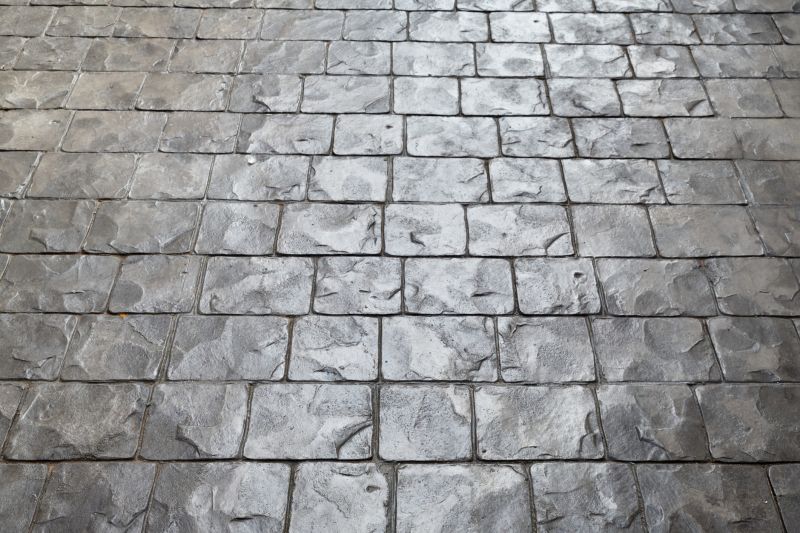
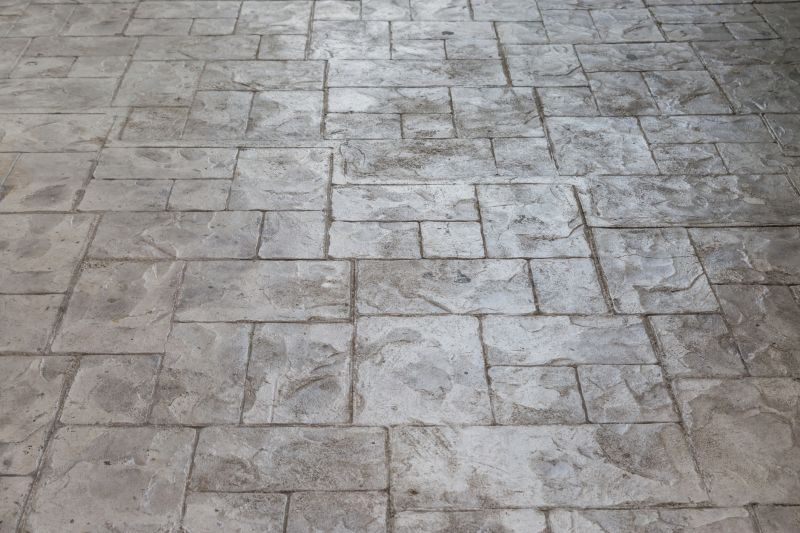
Once the concrete has partially dried, you can add a broom finish for better traction or use a stamp to create a decorative pattern. Allow the concrete to cure for at least 24-48 hours before walking or driving on it.
Step 8: Remove the Forms
After the concrete has fully cured, carefully remove the forms. Use a pry bar or hammer to loosen them if necessary. Fill any gaps left by the forms with soil or grass seed to restore the surrounding area.
Step 9: Maintain and Seal
Regularly clean and maintain your concrete driveway to prolong its lifespan. Consider applying a concrete sealer to protect it from stains, weathering, and UV damage.
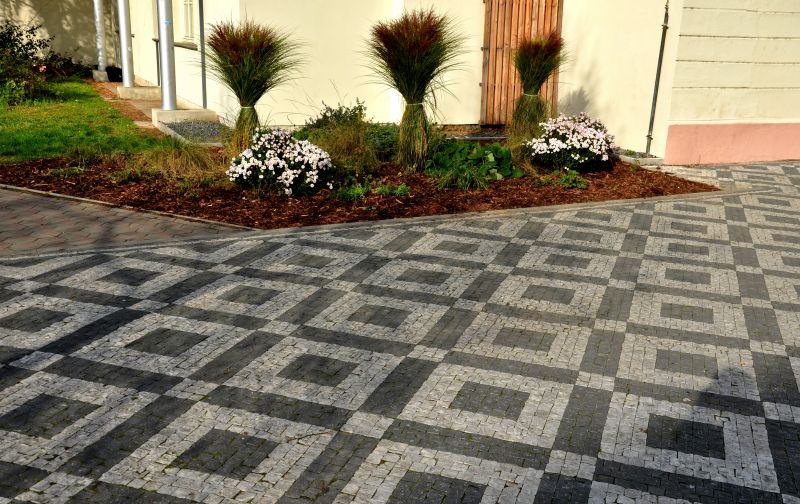
Following these steps will help you successfully install a concrete driveway that is durable and enhances the curb appeal of your property.