How to Install a Decorative Concrete Driveway
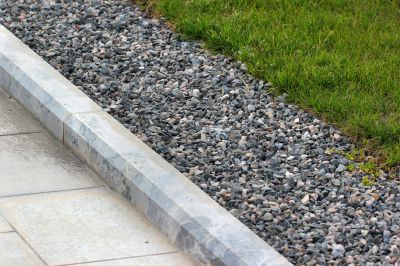
Step 1: Prepare the Driveway
Before starting the installation process, make sure your driveway is clean and free of any debris. Remove any grass, weeds, or old pavement. Use a pressure washer to thoroughly clean the surface and allow it to dry completely.
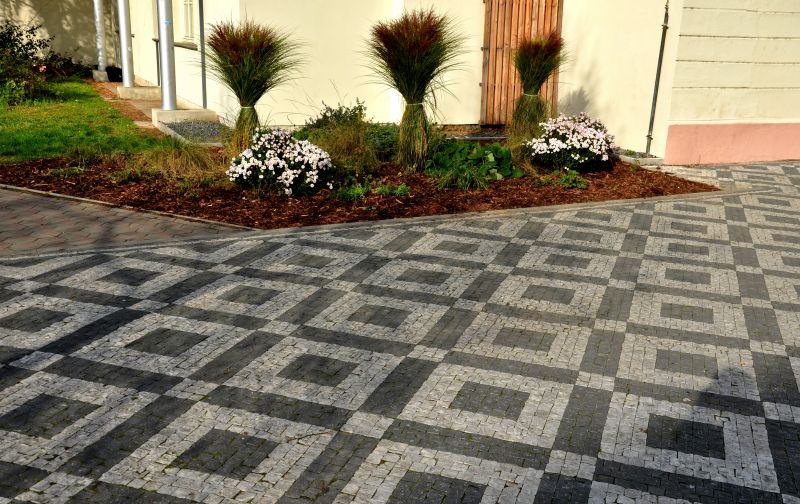
Step 2: Plan the Design
Decide on the design and pattern you want for your decorative concrete driveway. Consider using stencils or stamps to create unique patterns. Measure the driveway area and mark the design layout using chalk or tape.
Step 3: Mix the Concrete
Follow the instructions on the concrete mix packaging to prepare the concrete mixture. Use a concrete mixer or a wheelbarrow and shovel to mix the concrete thoroughly until it reaches a smooth consistency.
Step 4: Apply the Concrete
Start by pouring the concrete mixture onto the driveway, following the marked design layout. Use a trowel or a screed board to spread the concrete evenly. Make sure the thickness is consistent throughout the entire driveway.
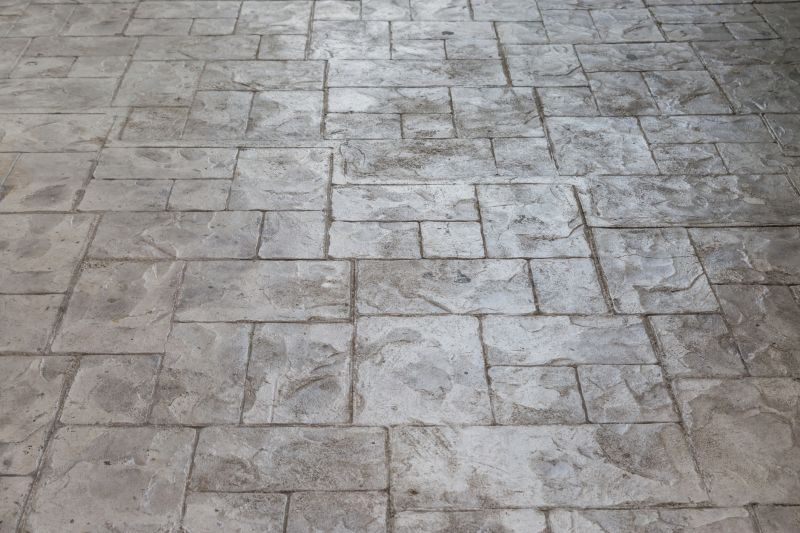
Step 5: Add Color and Texture
If desired, add color to the concrete mixture using concrete dyes or pigments. You can also add texture by using a broom or a textured roller to create a non-slip surface. Experiment with different techniques to achieve the desired effect.
Step 6: Cure and Seal
Allow the concrete to cure for the recommended time, usually around 24 to 48 hours. During this time, keep the surface moist by spraying it with water regularly. Once cured, apply a concrete sealer to protect the driveway from stains and enhance its appearance.
Step 7: Maintain the Driveway
Regularly clean the decorative concrete driveway using a mild detergent and a soft-bristle brush. Avoid using harsh chemicals or abrasive cleaners that can damage the surface. Consider resealing the driveway every few years to maintain its durability and appearance.
By following these steps, you can successfully install a decorative concrete driveway that adds beauty and value to your property.