How to Install Concrete Driveway Edging
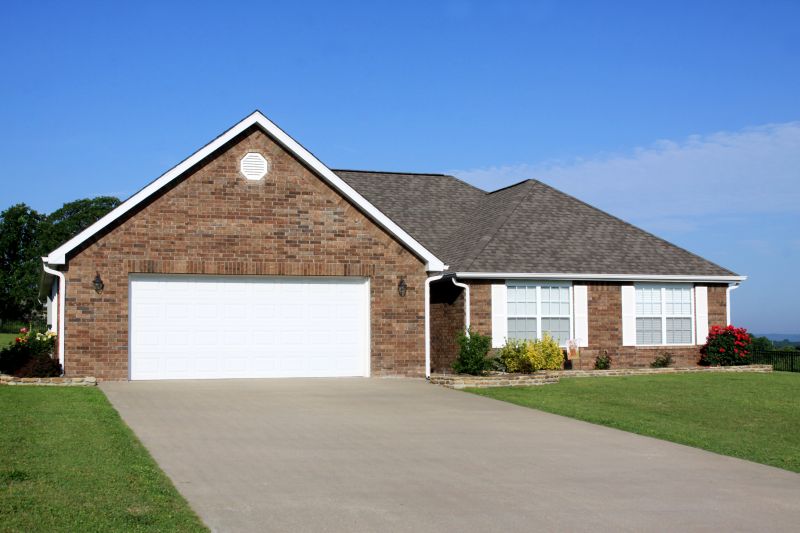
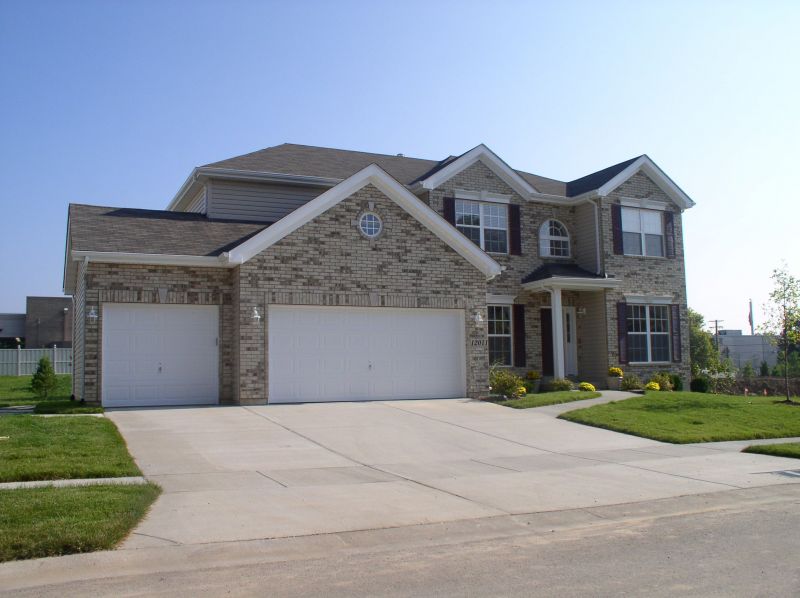
Concrete driveway edging can enhance the overall appearance and functionality of your driveway. Follow these steps to install concrete driveway edging:
Materials You'll Need:
- Concrete edging blocks
- Concrete mix
- Shovel
- Trowel
- Level
- Rubber mallet
- String
- Stakes
- Measuring tape
- Water source
- Protective gloves
Step 1: Planning
Measure the length and width of your driveway to determine the amount of edging blocks needed. Mark the desired edge line using string and stakes.
Step 2: Excavation
Using a shovel, dig a trench along the marked edge line. Make sure the trench is deep enough to accommodate the height of the edging blocks.
Step 3: Base Preparation
Smooth out the bottom of the trench and make it level. Add a layer of gravel or sand to provide a stable base for the edging blocks.
Step 4: Mixing Concrete
Follow the instructions on the concrete mix packaging to prepare the concrete. Mix it in a wheelbarrow or large container, adding water gradually until you achieve the right consistency.
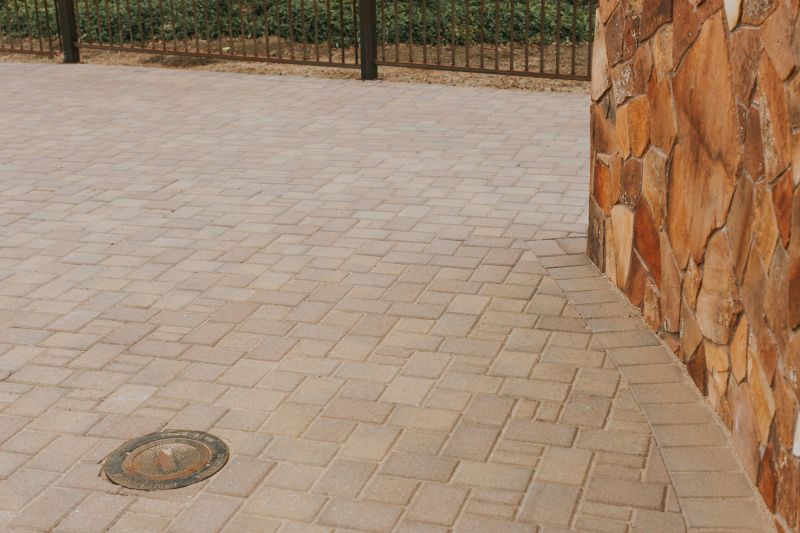
Step 5: Installing Edging Blocks
Place the first edging block at one end of the trench. Use a level to ensure it is level and adjust as needed. Continue placing the remaining blocks, ensuring they are tightly fitted together.
Step 6: Finishing
Once all the blocks are in place, use a rubber mallet to tap them gently and ensure they are firmly set. Check the level again to confirm proper alignment.
Step 7: Curing
Allow the concrete to cure according to the manufacturer's instructions. This usually involves keeping the concrete moist and protected from extreme temperatures for a specified period.
Step 8: Clean Up
Remove any excess concrete or debris from the driveway and surrounding area. Rinse off any spilled concrete with water before it dries.
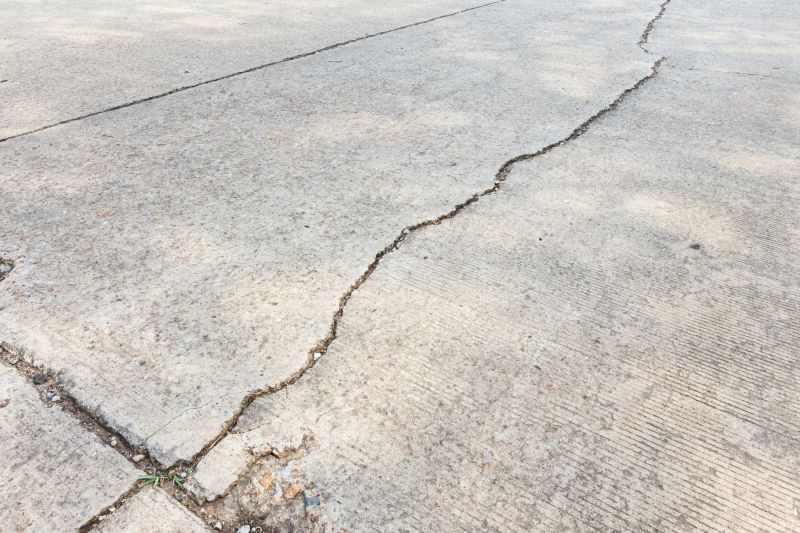
Step 9: Maintenance
Regularly inspect the edging blocks for any signs of damage or movement. Repair or replace any damaged blocks to maintain the integrity of the driveway edging.
By following these steps, you can successfully install concrete driveway edging and enhance the overall look and durability of your driveway.