Concrete Driveway Sealing | How To
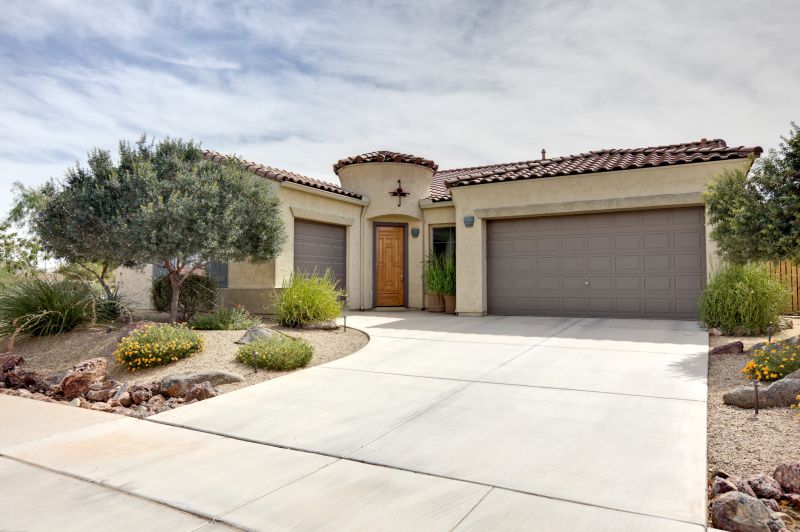
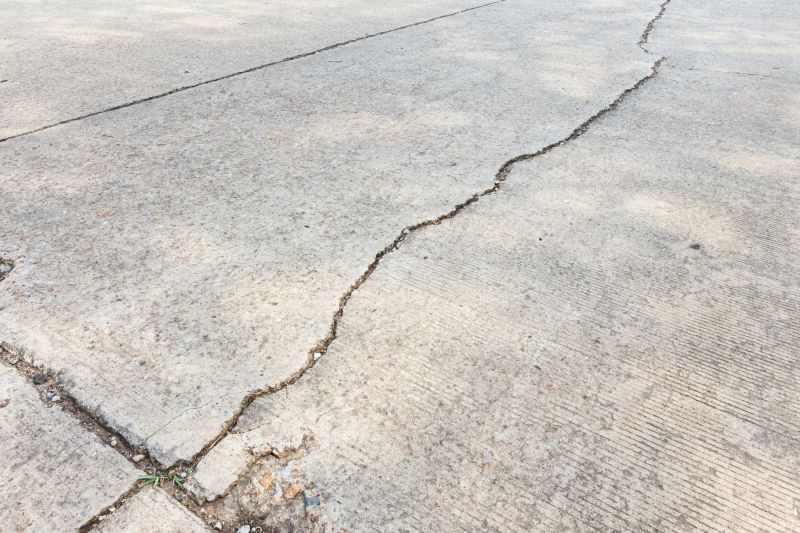
Get help with your concrete driveway sealing needs. Fill out the form above and we will connect you with local pros in your area. Concrete driveway sealing is a process that involves applying a protective coating to the surface of a concrete driveway. This coating acts as a barrier against various elements such as water, oil, and UV rays, preventing them from penetrating the concrete and causing damage. By sealing a concrete driveway, homeowners can extend its lifespan and maintain its appearance for years to come. The sealing process typically involves cleaning the driveway thoroughly, filling any cracks or gaps, and then applying the sealant using specialized tools and techniques. Regular concrete driveway sealing can help prevent staining, cracking, and deterioration, ensuring that your driveway remains durable and attractive.
How to Seal a Concrete Driveway
Materials Needed:
- Concrete sealer
- Broom
- Pressure washer
- Water
- Paint roller or sprayer
- Paint tray
- Paintbrush
- Protective clothing and gloves
Step 1: Clean the Driveway
Begin by sweeping the driveway to remove any loose debris. Then, use a pressure washer to thoroughly clean the surface of the concrete. Make sure to remove any dirt, oil stains, or other contaminants that may prevent proper adhesion of the sealer.
Step 2: Allow the Driveway to Dry
After cleaning, allow the driveway to dry completely. This may take a few hours or longer depending on the weather conditions.
Step 3: Mix the Sealer
Follow the instructions on the concrete sealer packaging to properly mix the sealer. Use a paint tray and stir the sealer thoroughly to ensure it is well mixed.
Step 4: Apply the Sealer
Using a paint roller or sprayer, apply the sealer evenly across the entire surface of the driveway. Start at one end and work your way towards the other, making sure to cover the entire area. Use a paintbrush to reach any edges or corners that the roller or sprayer may have missed.
Step 5: Allow the Sealer to Dry
Once the sealer has been applied, allow it to dry according to the instructions on the packaging. This typically takes a few hours or longer, depending on the weather conditions.
Step 6: Apply a Second Coat (Optional)
If desired, you can apply a second coat of sealer for added protection and durability. Follow the same application process as before, making sure to allow each coat to dry completely.
Step 7: Clean Up
After the sealer has dried, clean up any tools or equipment used during the process. Dispose of any leftover sealer or empty containers properly according to local regulations.
Step 8: Enjoy Your Newly Sealed Concrete Driveway
Once the sealer has fully dried and cured, your concrete driveway will be protected and ready to withstand the elements. Enjoy the enhanced appearance and longevity of your sealed driveway!


