How to Install a Stamped Concrete Slab
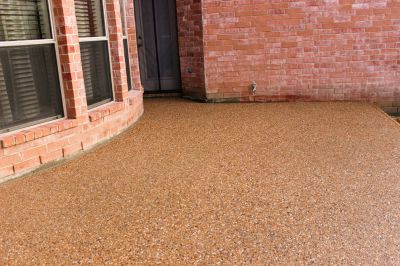
Stamped concrete is a popular choice for outdoor surfaces due to its durability and aesthetic appeal. Follow these steps to install a stamped concrete slab:
Materials and Tools You'll Need:
- Concrete mix
- Trowel
- Concrete stamps
- Release agent
- Concrete sealer
- Float
- Joint tool
- Pressure washer
- Protective gear (gloves, goggles, etc.)
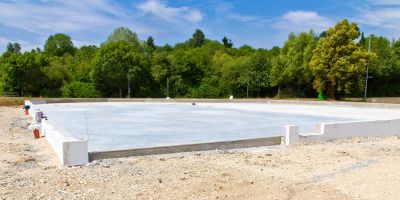
Step 1: Prepare the Area
Clear the area where you want to install the stamped concrete slab. Remove any existing vegetation, rocks, or debris. Level the ground and ensure proper drainage.
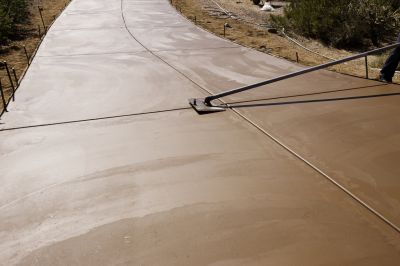
Step 2: Mix and Pour Concrete
Follow the instructions on the concrete mix bag to prepare the concrete. Mix it thoroughly until you achieve a workable consistency. Pour the concrete into the designated area, making sure it is evenly spread.
Step 3: Apply Release Agent
Apply a release agent on the surface of the concrete to prevent the stamps from sticking. Use a sprayer or roller to evenly distribute the release agent.
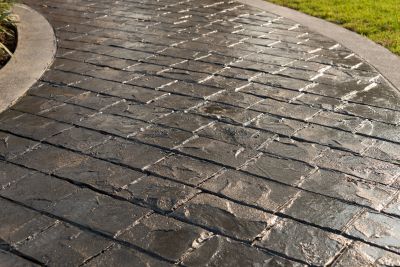
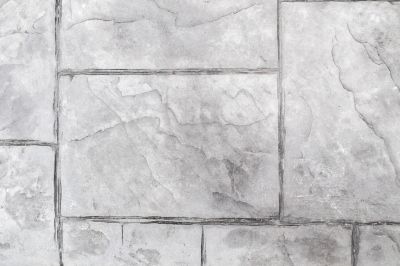
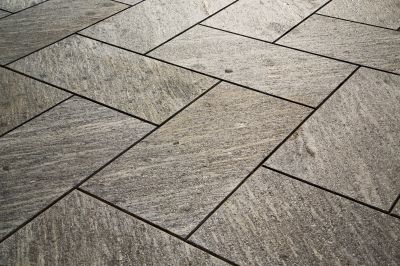
Step 4: Stamp the Concrete
Once the concrete is firm enough to support your weight without sinking, begin stamping. Press the concrete stamps firmly into the surface, making sure to overlap the imprints for a seamless pattern. Continue stamping until the entire slab is covered.
Step 5: Add Texture and Joints
Use a float to add texture and smooth out the surface of the stamped concrete. Create control joints using a joint tool to prevent cracking. These joints should be spaced according to the size and shape of the slab.
Step 6: Let it Cure
Allow the stamped concrete slab to cure for at least 24 to 48 hours. Keep it moist during this time to ensure proper curing.
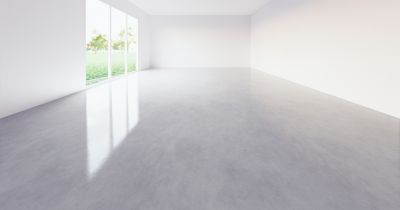
Step 7: Clean and Seal
Once the concrete is fully cured, clean the surface using a pressure washer to remove any residue or dirt. Apply a concrete sealer to protect the stamped concrete from stains and enhance its longevity.
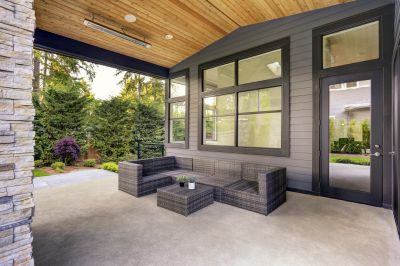
Step 8: Enjoy Your Stamped Concrete Slab!
Now that your stamped concrete slab is installed and sealed, you can enjoy its beauty and durability. Regular maintenance and cleaning will help preserve its appearance for years to come.
Remember to follow safety precautions and wear protective gear throughout the installation process.