Introduction
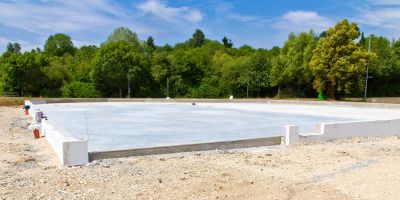
Installing a concrete garage slab is an essential step in creating a durable and long-lasting foundation for your garage. In this step-by-step guide, we will walk you through the process of installing a concrete garage slab.
Materials and Tools Needed
- Concrete mix
- Rebar
- Wooden stakes
- String
- Shovel
- Tamper
- Trowel
- Float
- Level
- Water source
- Protective gear (gloves, safety goggles)
Step 1: Prepare the Site
Start by clearing the area where the garage slab will be installed. Remove any vegetation, rocks, or debris from the site. Use a shovel to level the ground and ensure it is compacted.
Step 2: Set Up the Formwork
Use wooden stakes and string to mark the perimeter of the garage slab. Make sure the formwork is level and square. Secure the formwork by hammering the stakes into the ground.
Step 3: Install Rebar
Place rebar within the formwork to reinforce the concrete slab. Space the rebar evenly and secure it using wire or rebar chairs.
Step 4: Mix and Pour the Concrete
Follow the instructions on the concrete mix bag to prepare the concrete. Start pouring the concrete into the formwork, ensuring an even distribution. Use a tamper to remove air bubbles and level the surface.
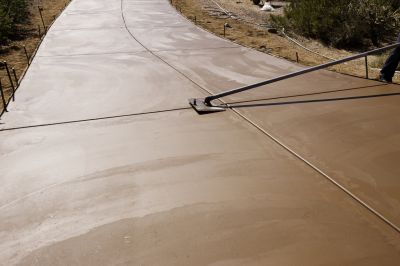
Step 5: Finish the Surface
Once the concrete is poured and leveled, use a trowel to smooth the surface. Apply a float to create a textured finish if desired. Make sure the surface is level and free from any imperfections.
Step 6: Cure and Maintain
Allow the concrete to cure for at least 7 days, following the manufacturer's instructions. During this time, keep the surface moist by regularly spraying it with water. After the curing period, you can remove the formwork.
Conclusion
By following these steps, you can successfully install a concrete garage slab. Remember to take necessary safety precautions and consult professionals if needed. A well-installed concrete slab will provide a solid foundation for your garage and ensure its longevity.