Decorative Concrete Slab Installation | How To
How to Install Decorative Concrete Slab
Materials Needed:
- Concrete mix
- Decorative concrete stamps
- Concrete sealer
- Trowel
- Float
- Edging tool
- Broom
- Water
- Protective gear (gloves, goggles, mask)
Step 1: Prepare the Area
Clear the area of any debris, plants, or obstacles. Use a shovel or a bobcat to remove any existing grass or concrete.
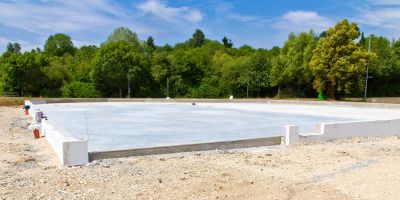
Step 2: Set the Forms
Measure and mark the desired dimensions for your concrete slab. Set up wooden forms around the perimeter, ensuring they are level and securely in place.
Step 3: Mix the Concrete
Follow the instructions on the concrete mix bag to prepare the right amount of concrete. Use a mixing machine or a wheelbarrow to combine the mix with water until you achieve a workable consistency.
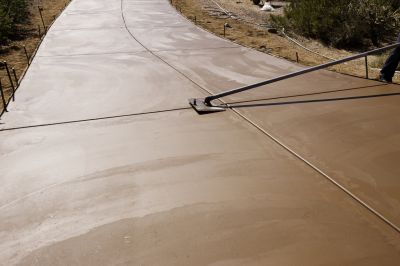
Step 4: Pour and Spread the Concrete
Pour the concrete into the prepared area, starting from one corner and working your way towards the opposite end. Use a trowel and a float to spread and level the concrete evenly.
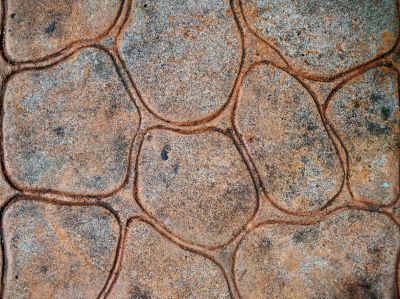
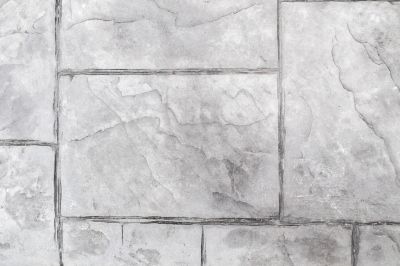
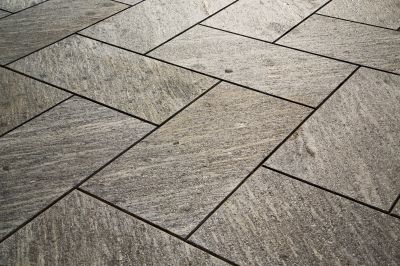
Step 5: Apply Decorative Stamps
While the concrete is still wet, press decorative concrete stamps onto the surface to create the desired pattern. Make sure to overlap the stamps slightly to avoid gaps.
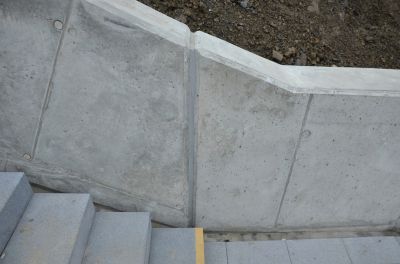
Step 6: Edging and Finishing
Use an edging tool to create clean edges around the slab. Smooth out the surface with a float, ensuring it is level and free of any imperfections. Allow the concrete to cure for the recommended time.
Step 7: Seal the Concrete
Apply a concrete sealer to protect the surface and enhance its appearance. Follow the instructions on the sealer product for the best application method.
Step 8: Clean Up
Clean your tools and equipment with water immediately after use. Remove the wooden forms and dispose of any leftover materials properly.
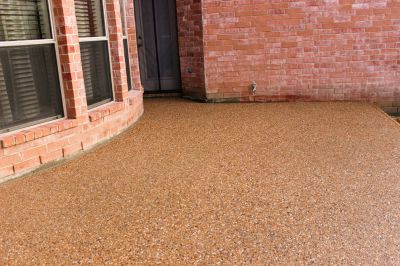
Step 9: Enjoy Your New Decorative Concrete Slab
Once the concrete is fully cured and the sealer has dried, you can now enjoy your beautiful decorative concrete slab. Feel free to add furniture, plants, or any other elements to complete the look.
Remember to always follow safety guidelines and wear protective gear when working with concrete.