Concrete Overlay Installation
Concrete overlay is a popular solution for rejuvenating old, worn-out concrete surfaces. Whether you want to enhance the appearance of your driveway, patio, or any other concrete area, follow these steps to successfully install a concrete overlay.
Materials You'll Need:
- Concrete overlay mix
- Concrete bonding agent
- Trowel
- Concrete sealer
- Paint roller
- Protective gear (gloves, goggles, mask)
- Power washer
- Wire brush
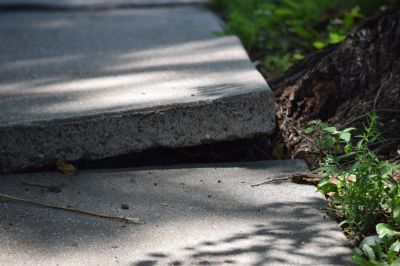
Step 1: Surface Preparation
Start by thoroughly cleaning the existing concrete surface using a power washer. Remove any dirt, debris, or loose particles. Use a wire brush to eliminate any stubborn stains or adhesives.
Step 2: Applying Bonding Agent
Apply a concrete bonding agent to the cleaned surface. Use a paint roller to evenly coat the entire area. This will ensure proper adhesion between the old and new concrete layers.
Step 3: Mixing Concrete Overlay
Follow the manufacturer's instructions to mix the concrete overlay. Make sure to achieve the right consistency for easy application. It should be thick enough to hold its shape but still spreadable.
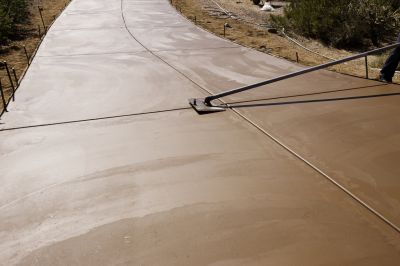
Step 4: Applying the Overlay
Using a trowel, spread the concrete overlay mixture onto the prepared surface. Start from one corner and work your way across, ensuring an even thickness throughout. Smooth out the surface as you go to achieve the desired finish.
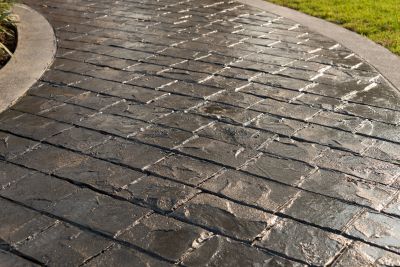
Step 5: Curing and Sealing
Allow the concrete overlay to cure for the recommended time, usually 24-48 hours. Once cured, apply a concrete sealer using a paint roller. The sealer will protect the surface from stains, moisture, and UV damage.
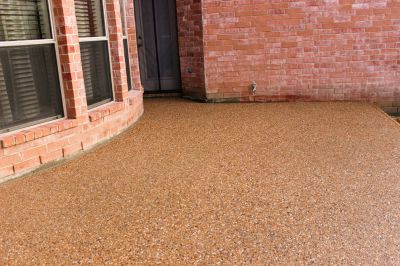
Step 6: Maintenance
To keep your concrete overlay looking its best, regularly clean it with mild soap and water. Avoid using harsh chemicals or abrasive cleaners that may damage the surface. Consider reapplying a concrete sealer every few years for added protection.
Conclusion
By following these steps, you can successfully install a concrete overlay and transform your old concrete surfaces into a fresh and appealing area. Remember to take proper safety precautions and consult professional help if needed.