Polished Concrete Slab Installation | How To
How to Install a Polished Concrete Slab
Step 1: Prepare the Area
Clear the area where you plan to install the polished concrete slab. Remove any existing flooring, debris, or obstructions.
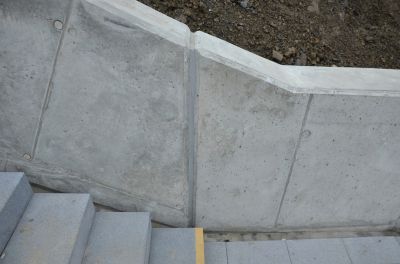
Step 2: Evaluate the Subfloor
Inspect the subfloor to ensure it is structurally sound and level. If necessary, make any repairs or adjustments to ensure a smooth surface.
Step 3: Apply a Bonding Agent
Apply a bonding agent to the subfloor to enhance adhesion. Follow the manufacturer's instructions for application and drying time.
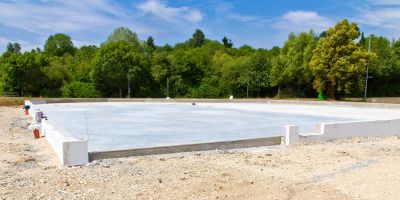
Step 4: Mix and Pour the Concrete
Mix the concrete according to the manufacturer's instructions. Pour the concrete onto the prepared subfloor, spreading it evenly with a trowel or screed.
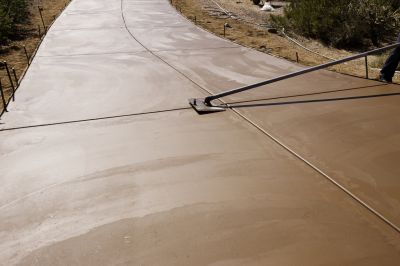
Step 5: Level and Smooth the Surface
Use a bull float or power trowel to level and smooth the surface of the poured concrete. Pay attention to any low spots or uneven areas and make necessary adjustments.
Step 6: Let the Concrete Cure
Allow the concrete to cure for the recommended time, typically at least 24 to 48 hours. Follow the manufacturer's instructions for curing time and conditions.
Step 7: Grind and Polish the Concrete
Use a concrete grinder with progressively finer grits to grind and polish the cured concrete surface. Start with a coarse grit and work your way up to achieve the desired level of smoothness and shine.
Step 8: Apply a Concrete Sealer
Apply a concrete sealer to protect the polished surface and enhance its durability. Follow the manufacturer's instructions for application and drying time.
Step 9: Maintain the Polished Concrete
Regularly clean and maintain the polished concrete slab to preserve its appearance and longevity. Use mild cleaners and avoid abrasive materials that could scratch the surface.
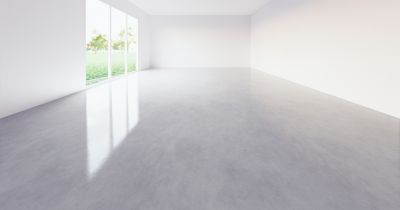
Step 10: Enjoy Your Polished Concrete Slab!
Once the installation and polishing process is complete, you can now enjoy your beautiful and durable polished concrete slab.