Patterned Concrete Slab Installation | How To
Patterned Concrete Slab Installation
Introduction
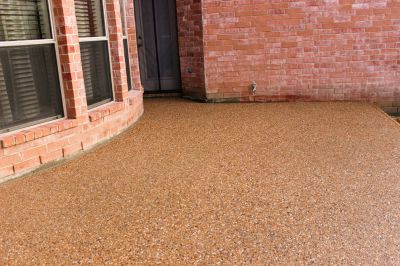
Patterned concrete slabs are a popular choice for outdoor areas such as driveways, patios, and walkways. They offer a durable and aesthetically pleasing solution that can enhance the overall look of your property. In this article, we will guide you through the step-by-step process of installing a patterned concrete slab.
Materials and Tools Needed
- Concrete mix
- Reinforcement mesh
- Wooden stakes
- String lines
- Trowel
- Patterned concrete stamps
- Concrete sealer
- Concrete colorant (optional)
- Concrete mixer
- Shovel
- Wheelbarrow
- Level
- Rubber mallet
Step 1: Site Preparation
Start by clearing the area where you want to install the patterned concrete slab. Remove any vegetation, rocks, or debris. Ensure that the ground is level and compacted.
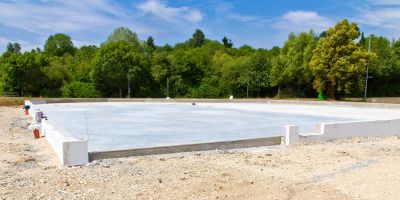
Step 2: Setting the Formwork
Use wooden stakes and string lines to mark the perimeter of the slab. Set the formwork according to the desired dimensions and shape of the slab. Make sure the formwork is secure and level.
Step 3: Mixing and Pouring Concrete
Follow the instructions on the concrete mix packaging to prepare the concrete. Use a concrete mixer for larger projects or mix manually in a wheelbarrow. Pour the concrete into the formwork, ensuring even distribution.
Step 4: Adding Reinforcement
Place reinforcement mesh on top of the poured concrete to add strength and prevent cracking. Use a shovel or rake to ensure the mesh is evenly placed throughout the slab.
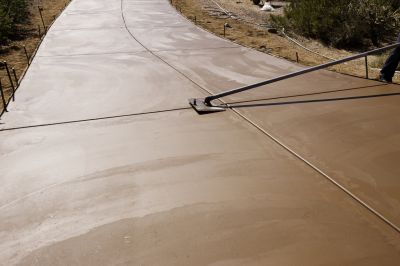
Step 5: Smoothing the Surface
Use a trowel to smooth the surface of the concrete slab. Start from one edge and work your way across, ensuring an even and level finish.
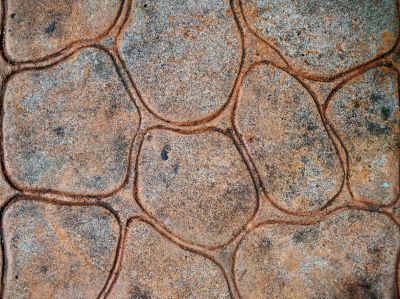
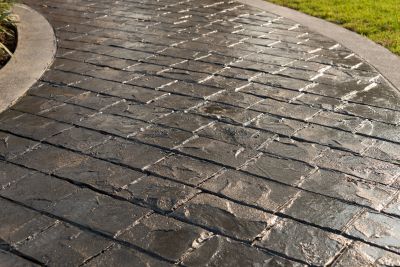
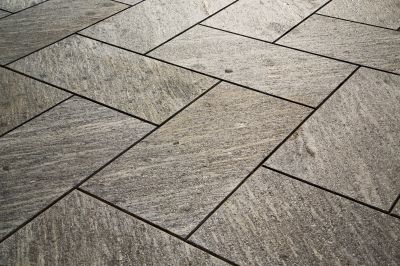
Step 6: Applying the Pattern
Once the concrete is partially set, use patterned concrete stamps to create the desired pattern on the surface. Press the stamps firmly into the concrete, making sure to overlap each impression slightly.
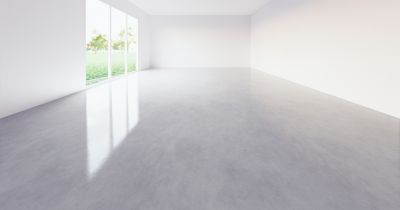
Step 7: Sealing the Concrete
After the concrete has fully cured, apply a concrete sealer to protect the surface from stains, weathering, and enhance its appearance. Follow the manufacturer's instructions for application.
Conclusion
By following these steps, you can successfully install a patterned concrete slab. Remember to take proper safety precautions and consult professionals if needed. Enjoy your newly installed patterned concrete slab!