Concrete Basement Slab Installation | How To
How to Install a Concrete Basement Slab
Materials Needed:
- Concrete mix
- Water
- Rebar
- Vapor barrier
- Trowel
- Broom
- Level
- Float
- Concrete saw
- Safety equipment (gloves, goggles, etc.)
Step 1: Prepare the Area
Clear the basement area of any debris, ensuring it is clean and level. If necessary, use a concrete saw to remove any existing flooring or obstructions.
Step 2: Install Vapor Barrier
Lay down a vapor barrier to prevent moisture from seeping through the concrete. Ensure it covers the entire area, overlapping the edges by a few inches.
Step 3: Place Rebar
Install rebar in a grid pattern across the area to reinforce the concrete slab. Use wire or rebar chairs to hold the rebar in place, ensuring it is raised off the vapor barrier.
Step 4: Mix and Pour Concrete
Follow the instructions on the concrete mix bag to prepare the concrete. Mix it thoroughly with water in a wheelbarrow or mixing container. Once mixed, pour the concrete into the prepared area.
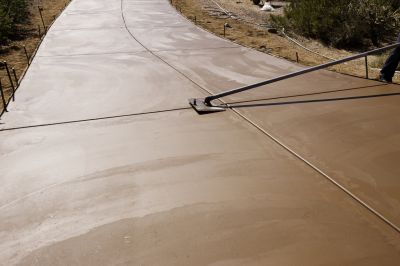
Step 5: Spread and Level Concrete
Use a trowel to spread the concrete evenly across the area, ensuring it reaches all corners. Use a level to check for an even surface, adjusting as necessary.
Step 6: Smooth the Surface
After the concrete has been spread and leveled, use a float to smooth the surface. This will remove any excess water and create a more finished appearance.
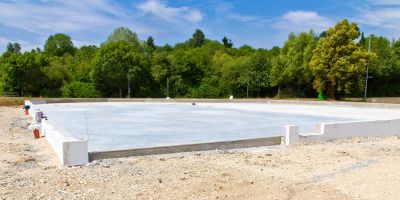
Step 7: Allow to Cure
Leave the concrete slab to cure for at least 24-48 hours, or as recommended by the concrete mix manufacturer. Avoid walking or placing heavy objects on the slab during this time.
Step 8: Finishing Touches
Once the concrete has fully cured, remove any excess debris and clean the surface. You can also apply a sealant or epoxy coating for added protection and aesthetics.
Conclusion
By following these steps, you can successfully install a concrete basement slab. Remember to take necessary safety precautions and consult professionals if needed.