Colored Concrete Slab Installation | How To
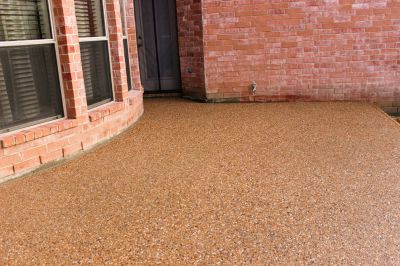
How to Install a Colored Concrete Slab
Materials Needed:
- Concrete mix
- Pigment powder
- Water
- Concrete mixer
- Trowel
- Float
- Sealer
- Paint roller
- Paint tray
- Protective gloves
- Protective eyewear
Step 1: Prepare the Area
Clear the area where you want to install the colored concrete slab. Remove any plants, rocks, or debris. If necessary, level the ground using a shovel and rake.
Step 2: Mix the Concrete
In a concrete mixer, combine the concrete mix and water according to the manufacturer's instructions. Mix until you achieve a smooth and workable consistency.
Step 3: Add Pigment
Add the desired amount of pigment powder to the concrete mix. Mix thoroughly until the color is evenly distributed.
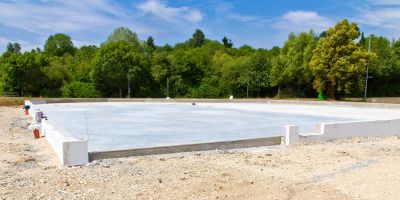
Step 4: Pour and Spread the Concrete
Pour the colored concrete mix onto the prepared area. Use a trowel to spread and level the concrete, ensuring an even thickness throughout.
Step 5: Smooth the Surface
Once the concrete is spread, use a float to smooth the surface. Move the float in a circular motion, applying light pressure to eliminate any air pockets and create a smooth finish.
Step 6: Allow the Concrete to Cure
Let the colored concrete slab cure for the recommended time, typically around 24 to 48 hours. Protect the area from foot traffic and extreme weather conditions during this period.
Step 7: Apply Sealer
After the concrete has cured, apply a concrete sealer using a paint roller. Make sure to cover the entire surface evenly. Allow the sealer to dry according to the manufacturer's instructions.
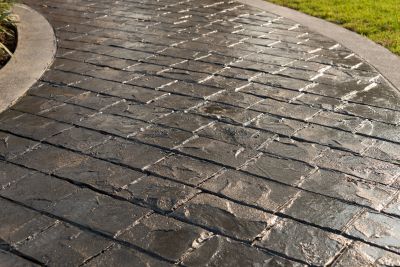
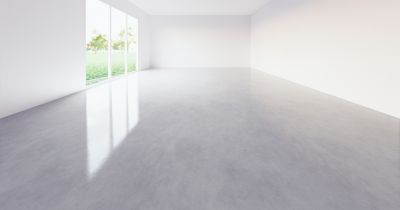
Step 8: Enjoy Your Colored Concrete Slab
Your colored concrete slab installation is complete! Now you can enjoy the beautiful and durable surface you have created.
Remember to follow safety precautions and wear protective gear throughout the installation process.