Exposed Aggregate Concrete Slab Installation | How To
Exposed Aggregate Concrete Slab Installation
Introduction
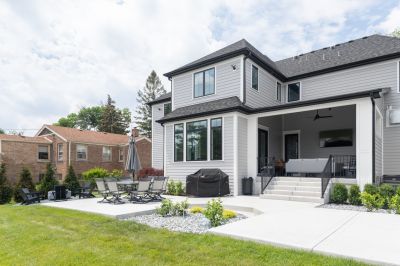
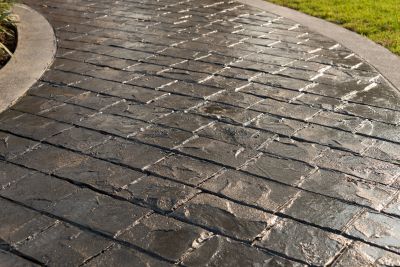
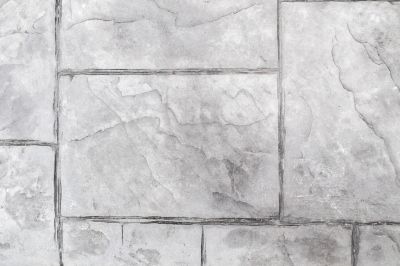
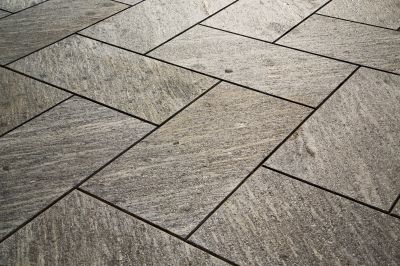
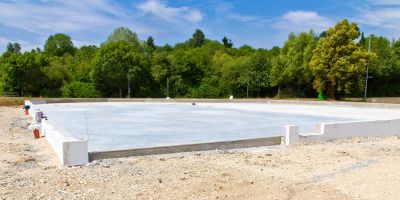
Exposed aggregate concrete slabs are a popular choice for driveways, patios, and walkways. The process involves revealing the natural beauty of the aggregate stones while providing a durable and slip-resistant surface. In this article, we will guide you through the steps to successfully install an exposed aggregate concrete slab.
Materials and Tools Required
- Concrete mix
- Aggregate stones
- Water
- Concrete mixer
- Shovel
- Trowel
- Float
- Concrete sealer
- Protective gear (gloves, safety glasses, etc.)
Step 1: Prepare the Area
Clear the area where you want to install the exposed aggregate concrete slab. Remove any vegetation, rocks, or debris. Mark the boundaries of the slab using stakes and string.
Step 2: Excavate the Area
Using a shovel, excavate the area to the desired depth for your slab. Make sure to remove any loose soil or dirt.
Step 3: Create a Base
Compact the soil using a plate compactor or hand tamper. Add a layer of gravel or crushed stone to create a stable base for the concrete slab. Compact the base again.
Step 4: Mix and Pour the Concrete
Follow the instructions on the concrete mix bag to prepare the concrete. Use a concrete mixer to ensure a consistent mix. Pour the concrete into the prepared area, making sure it is evenly distributed.
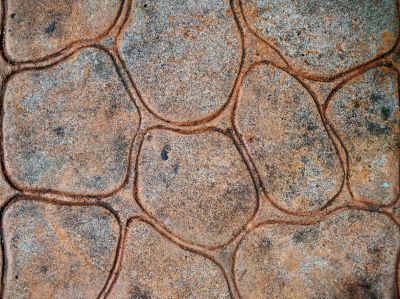
Step 5: Add Aggregate Stones
While the concrete is still wet, scatter the aggregate stones evenly over the surface. Use a trowel or float to press the stones gently into the concrete, ensuring they are partially exposed.
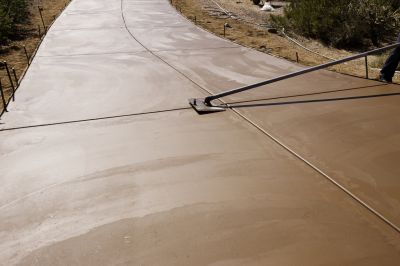
Step 6: Finish the Surface
Once the concrete has hardened slightly, use a float to smooth the surface. This will help bring out the aggregate stones and create a uniform appearance.
Step 7: Cure and Seal
Allow the concrete to cure for the recommended time. Once cured, apply a concrete sealer to protect the surface and enhance the color of the aggregate stones. Follow the manufacturer's instructions for application.
Conclusion
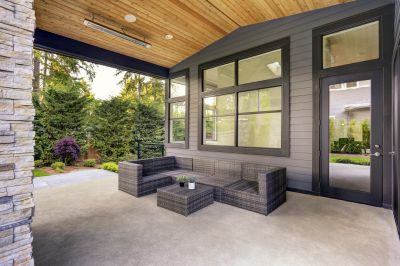
By following these steps, you can successfully install an exposed aggregate concrete slab. Remember to take necessary safety precautions and consult professionals if needed. Enjoy your new, beautiful and durable concrete surface!