Concrete Slab Expansion Joint Installation | How To
Concrete Slab Expansion Joint Installation
Introduction
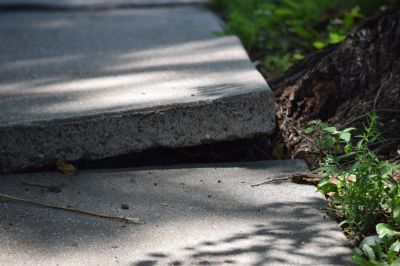
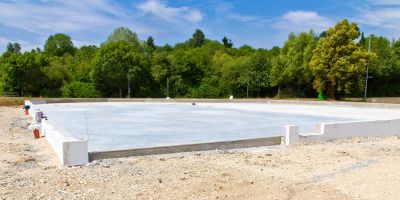
Concrete slab expansion joints are crucial for allowing the concrete to expand and contract with temperature changes. This article will guide you through the steps to properly install expansion joints in your concrete slab.
Materials Needed
- Expansion joint strips
- Utility knife
- Tape measure
- Caulking gun
- Silicone-based sealant
- Protective gloves and goggles
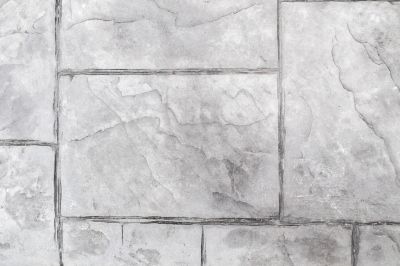
Step 1: Measure and Mark
Use a tape measure to determine the spacing between expansion joints. Typically, joints should be placed every 8 to 12 feet. Mark the locations on the concrete slab using a chalk line or a pencil.
Step 2: Cut the Expansion Joint Strips
Using a utility knife, cut the expansion joint strips to the desired length based on the measurements you took in the previous step. Make sure the strips are long enough to cover the entire width of the slab.
Step 3: Clean the Joint Gaps
Before installing the expansion joint strips, ensure that the joint gaps are free from debris, dirt, and any loose concrete. Use a brush or a vacuum cleaner to clean the gaps thoroughly.
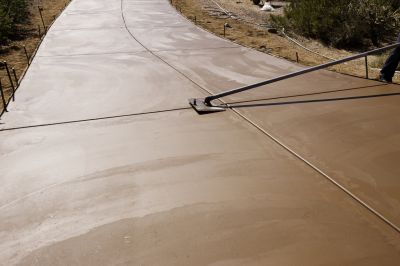
Step 4: Apply Sealant
Load the silicone-based sealant into a caulking gun. Apply a generous amount of sealant into the joint gaps, making sure to fill them completely. Smooth the surface of the sealant using a putty knife or your gloved finger.
Step 5: Insert the Expansion Joint Strips
Place the cut expansion joint strips into the sealant-filled gaps, pressing them firmly to ensure proper adhesion. Make sure the strips are centered in the gaps and sit slightly below the surface of the slab.
Step 6: Finishing Touches
Once all the expansion joint strips are installed, clean any excess sealant from the surface using a damp cloth or sponge. Allow the sealant to cure according to the manufacturer's instructions before subjecting the concrete slab to heavy traffic or loads.
Conclusion
By following these steps, you can successfully install expansion joints in your concrete slab. Proper installation of expansion joints helps prevent cracks and damage, ensuring the longevity and durability of your concrete structure.